i've had a fair amount of attempts at producing pcb's at home. my personal favorites are those hand-drawn on a laminate — i have made one like this for my electric guitar's switchboard. but the tiny pin pitches and leg widths of newer electronic components render this method unfeasable without a photolithography setup. actually, "modern" devices are pretty much impossible to make pcb's for at home. i'm talking about bga packages. these require multiple layers and via-in-pad technology to design for.
my older boards were made with either ironed-on toner or an adhesive photoresistive film. some turned out acceptably – smaller ones, usually – but most print transfers were totally unusable or too erroneous to consider trace-fixing. these methods have lots of variables that i find hard to control. especially the ironing process, some parts of the board were always smooshed and shorted. i'm now guessing that the temperature was too high, which i never considered. i did actually attempt heatless toner transfer in the past, and achieved absolutely no transfer, but yesterday i spent some more time experimenting. it finally paid off.
heatless toner transfer involves laser-printing a mirrored projection of the circuit onto glossy, slippery paper. a solvent is used to dissolve the toner, and pressure applied to transfer it onto the copper layer. it's pretty similar to regular the regular transfer method. the author of the article from which i discovered the method proposes an 8:3 mixture of ethanol to acetone. the acetone is what actually dissolves the toner, while ethanol is there only to dilute the active solvent.
i do not own any ethanol, but i do use isopropanol for cleaning many things. i tried the 8:3 mixture, and was disappointed to see no transfer after following the instructions. this is probably where i left off last time. but yesterday, i tried using pure acetone. to my suprise, i saw toner stuck to the laminate. it was only a small part of the whole board, but i wasn't trying too hard. it even was a little too smooshed, so i tried later with small amounts of isopropanol added. i landed on something that's probably around a 1:10 mixture of isopropanol to acetone — wildy different from the original ratio.
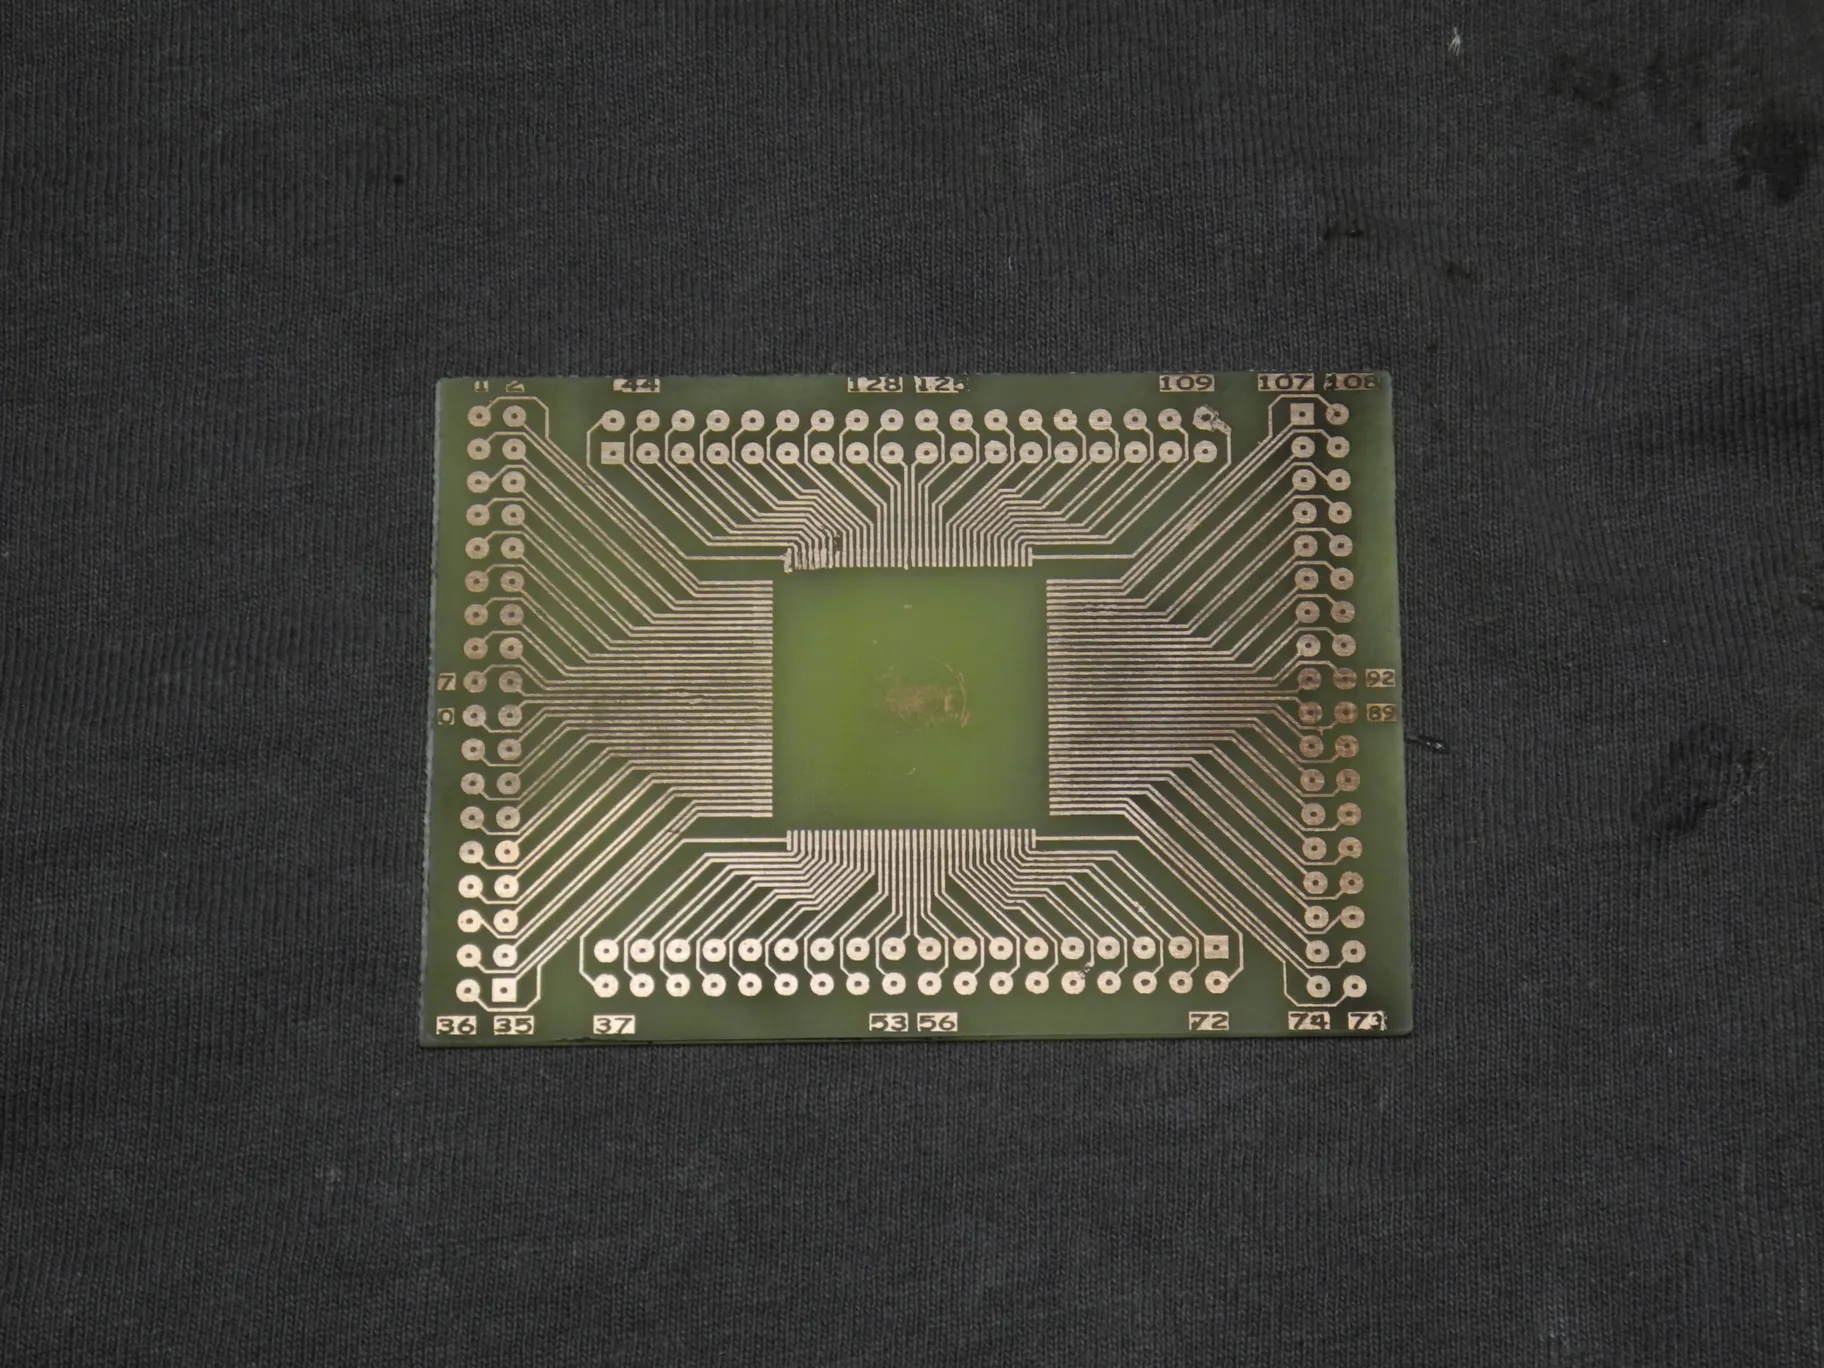
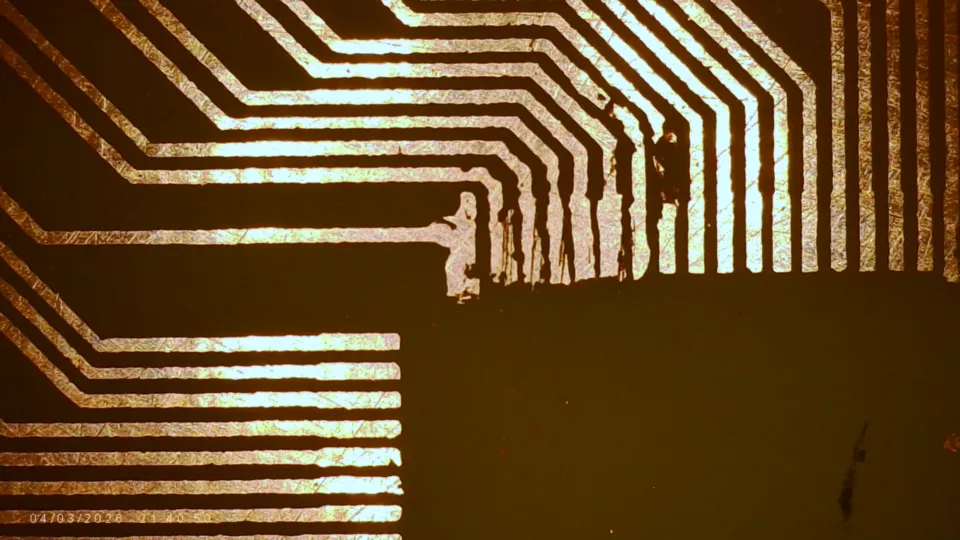
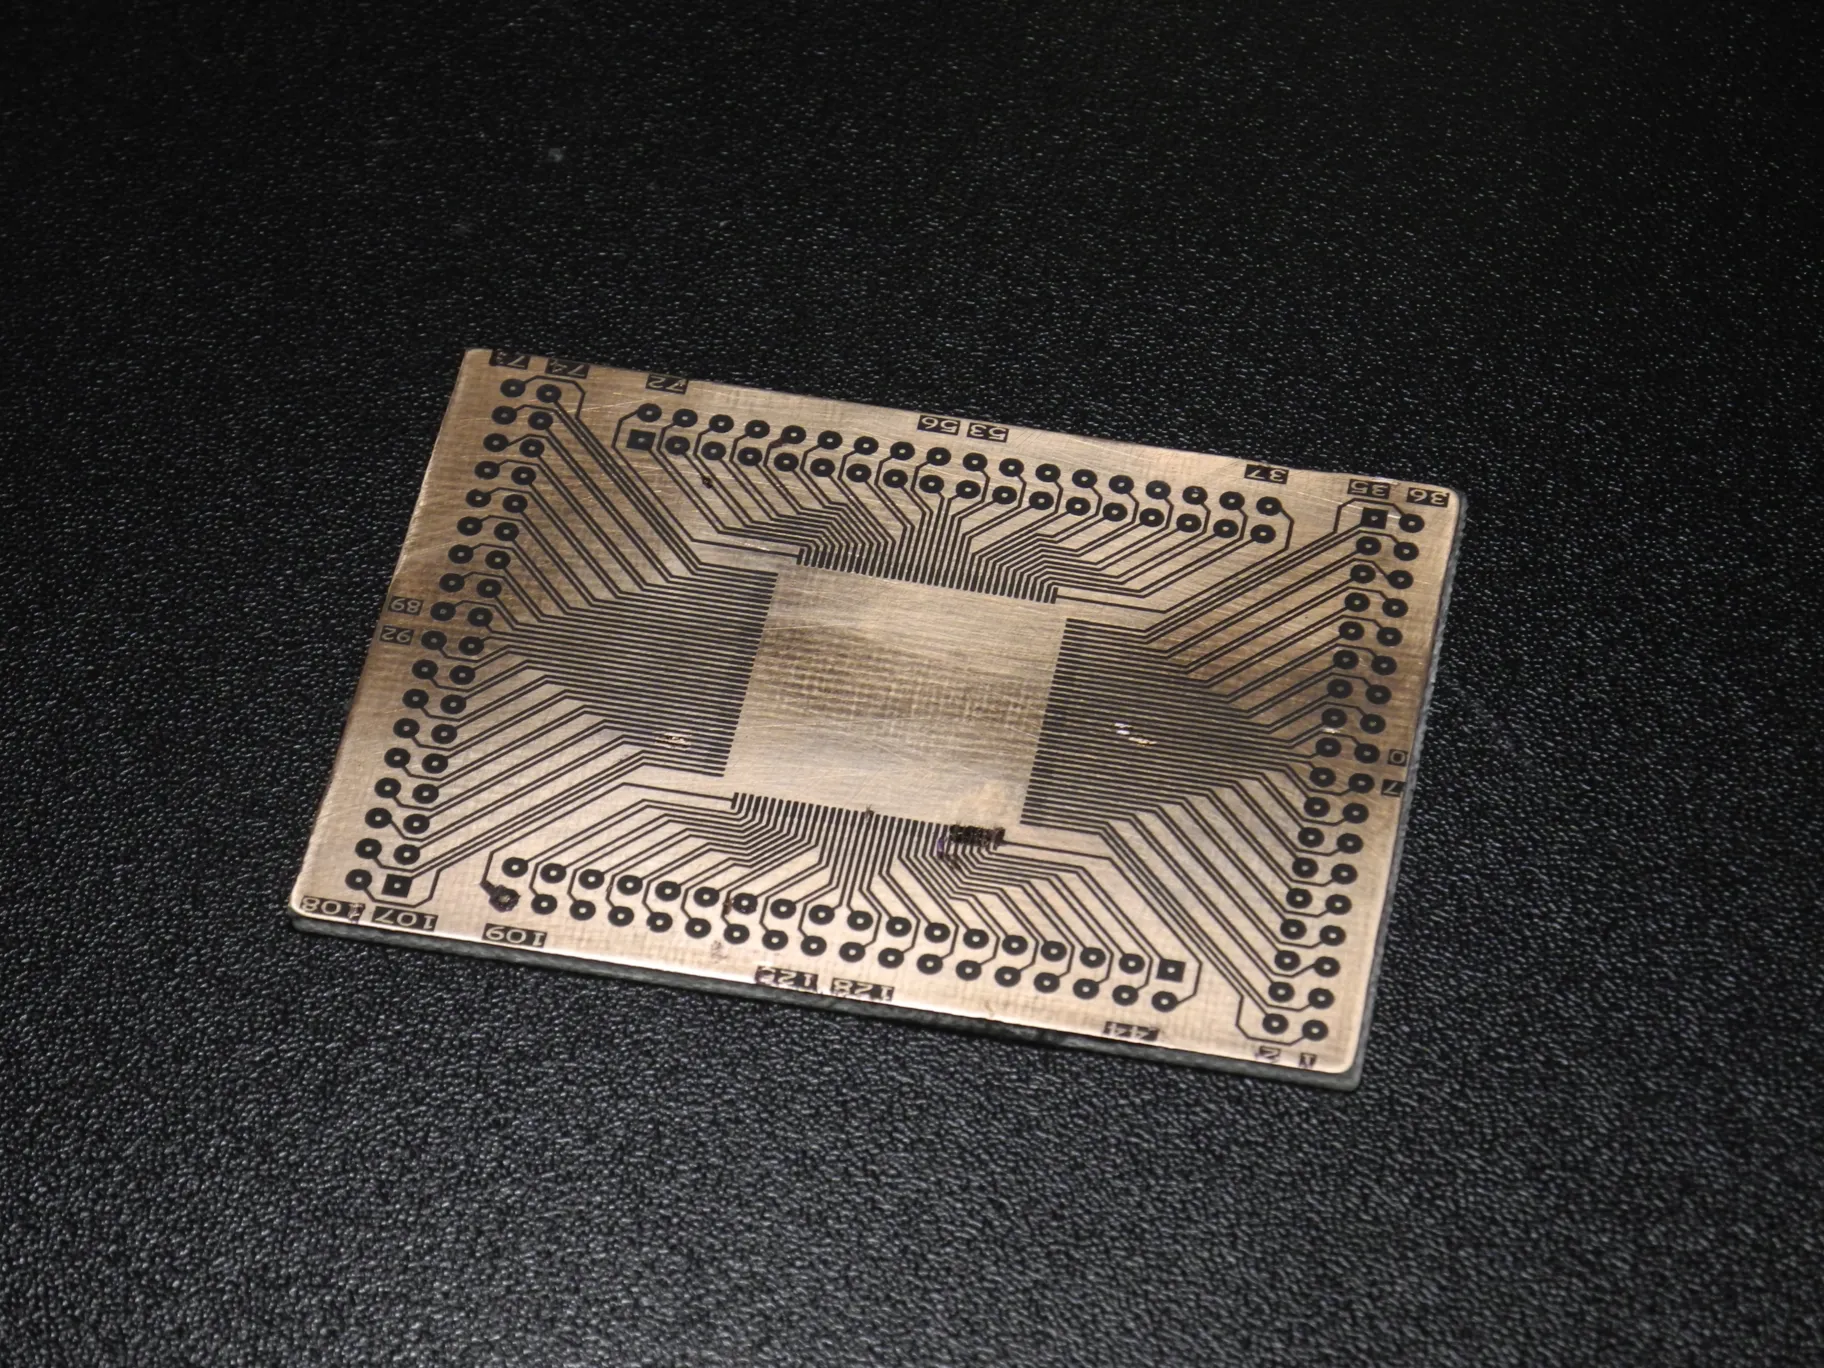
the board i wanted to make was a qfn144 breakout. i actually already made one a long time ago, and it involved painfully cutting undissolved photoresist between the traces under the microscope. that film must actually hate me: it never works right. anyway, i removed the paper, fixed up some broken traces with a cd marker and knife, and got to etching. i'd rate the result a 6.5/10 — which for a board with such tiny traces is an amazing result, at least for my production. some areas with the marker unfortunately didn't survive, but i consider this usable enough. i'm going to be trying to program some weird nec/renesas microcontroller with it. i'm not saying there are any chances of success, but it's the trying that counts, right?
the pictures might be a little blurry because of heavy compression, i apologize for that. the tracks are pretty crispy, as seen on the microscope shot.